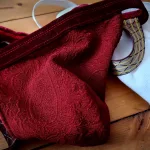
Although jockstrap have been around for over 100 years, they still look pretty hot. This is mainly due to their cut and the fact that they leave the buttocks exposed. That’s why jockstraps are all the rage in the gay scene and at kinky parties. Many people wear them like thongs at gay parties or sex parties. They’re also great for foreplay because they look like sexy underwear.
A jockstrap, also known as a suspensory, is like a pair of underpants with a pouch at the front, a waistband, and two elastic bands at the sides that frame the buttocks and leave them exposed. Of course, there’s more than just boxer shorts!
Want to be the center of attention at every party? Then you definitely need a jockstrap. They don’t take up much space because they’re made of very little fabric. But they show off your firm butt to great effect—everyone will be looking, we promise! With a jockstrap, you can show off what you’ve got and become the star of the CSD or party, and of course in the bedroom too.
You can read more interesting facts about this sexy garment here.
Let’s sew one together; it’s easy and suitable for beginners.
List of materials
- Some fabric, cotton jersey is particularly suitable
- Approximately 2 meters of elastic band
- Sewing thread
- Scissors
- Measuring tape
- Tailor’s chalk
- Sewing machine and/or an overlock/coverlock machine
- The pattern does not include seam allowances (right-click, save target as)
Information:
This jockstrap is made from recycled material. The front was an old women’s blouse from my grandmother, a four-way stretch fabric. The lining fabric is a torn T-shirt and the elastic is from worn-out suspenders.
Only the elastic waistband is new, and there’s always some felt lying around here anyway.
Pattern
Download the pattern and open it in Adobe Reader.

Open the pattern in Adobe Reader and click on the layer icon.

Hide all layers and activate only the desired one.

It is important that you print out the pattern in actual size.
Of course, it is also possible to project the pattern onto the fabric using a projector, which is what I usually do. It saves paper and is good for the environment.
The pattern includes a 5 cm x 5 cm control square, which you should check once. If everything fits, you can continue.
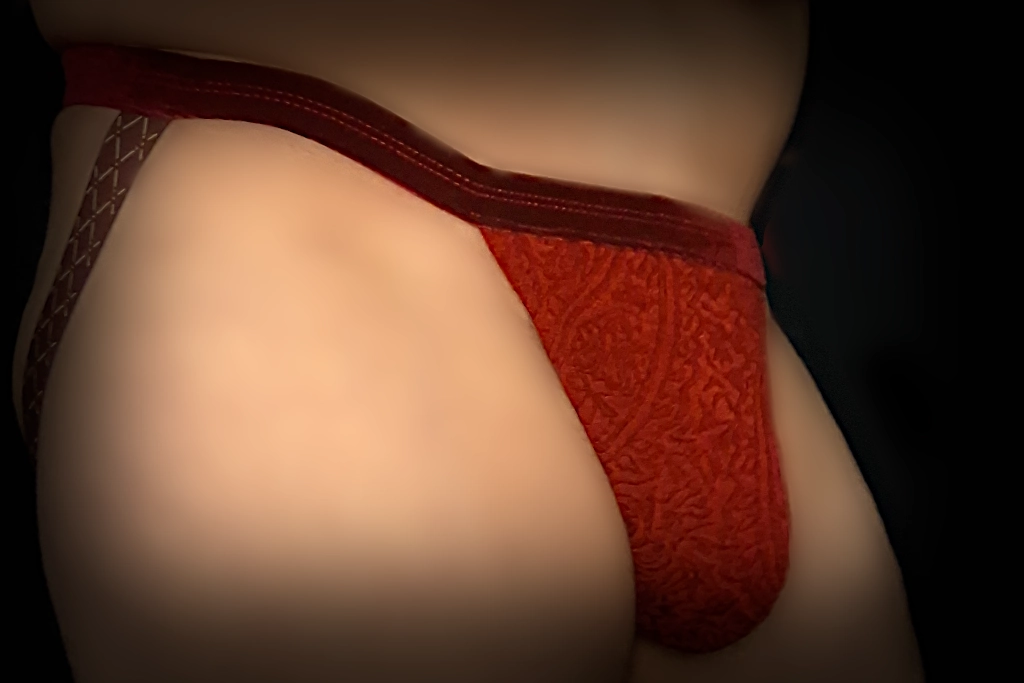
Cutting pattern
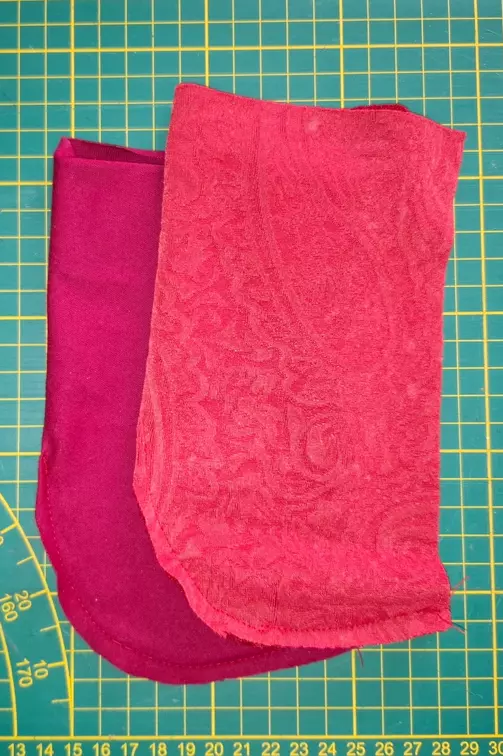
After printing, transfer the pattern piece and cut it out. I have not included any seam allowance.

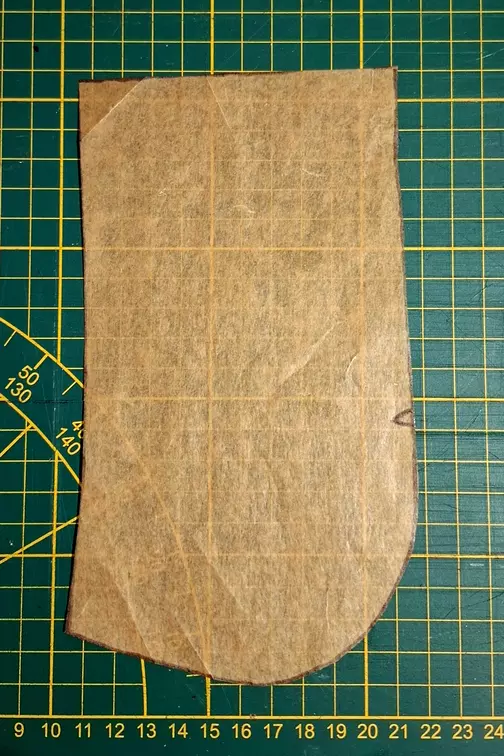
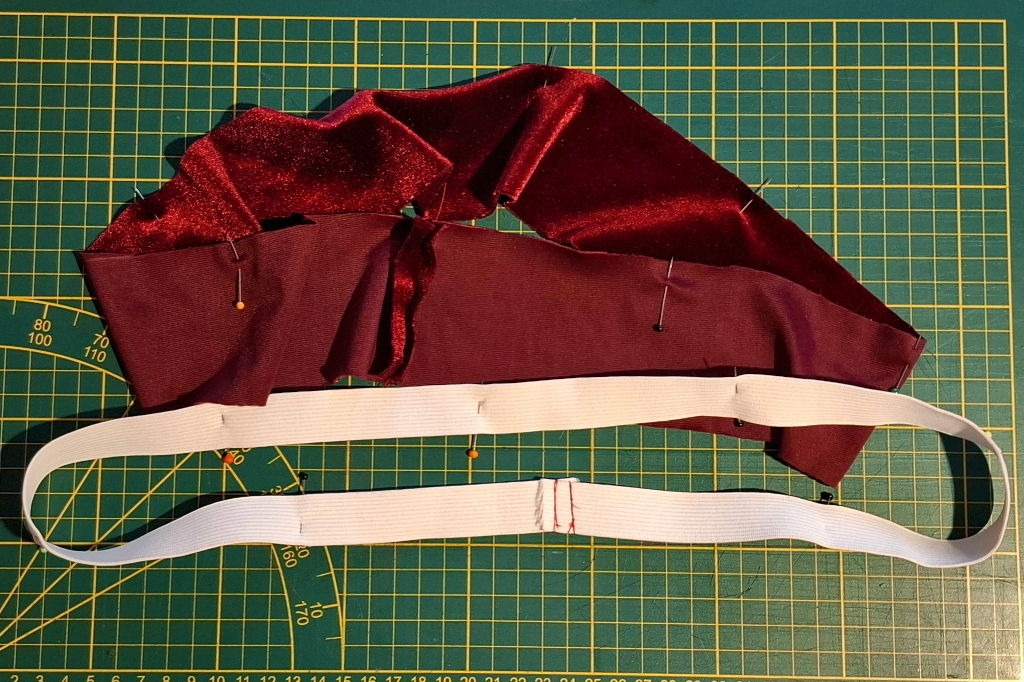
Two pieces: one for the outer fabric and one for the lining. I use cotton jersey for the lining. Fold the fabrics right sides together and align the pattern with the fold line. Cut the fabrics along the markings.
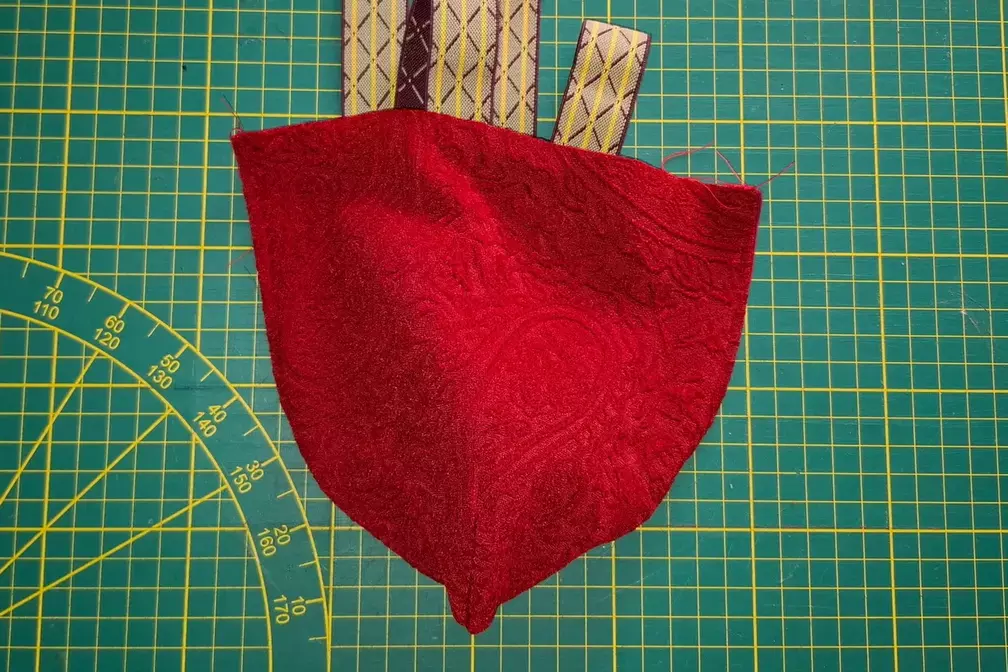
The two suspensories close
Place the pattern pieces for the suspensories right sides together and pin or tack them in place. Then close the bottom edge.
The seam should run smoothly over the edge, then there will be no crease on the front and it will look neater.
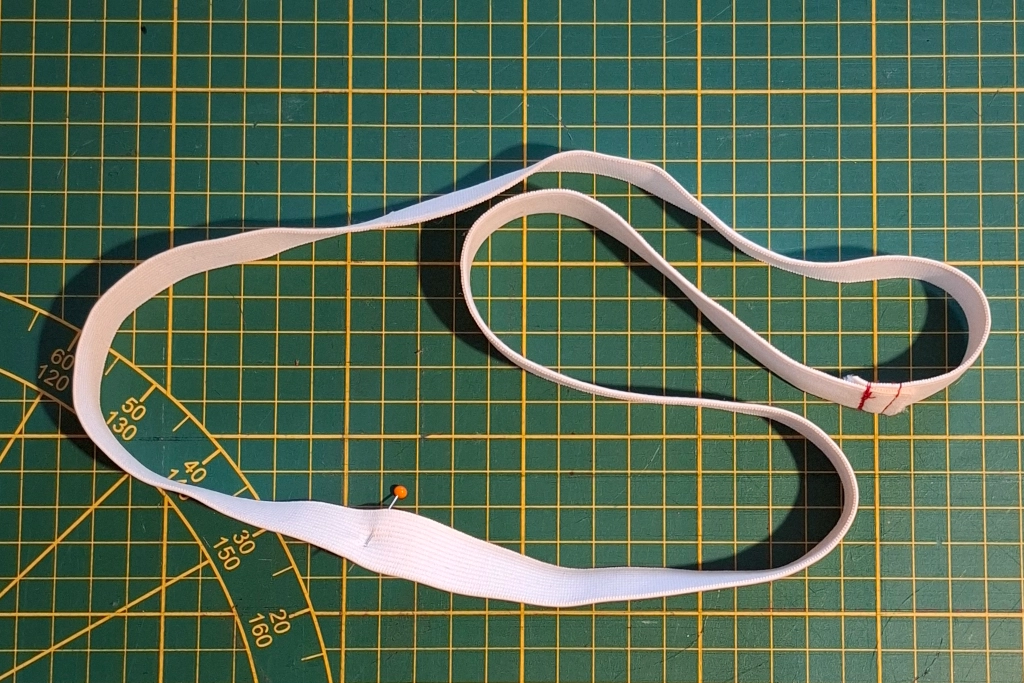
Leg Strap
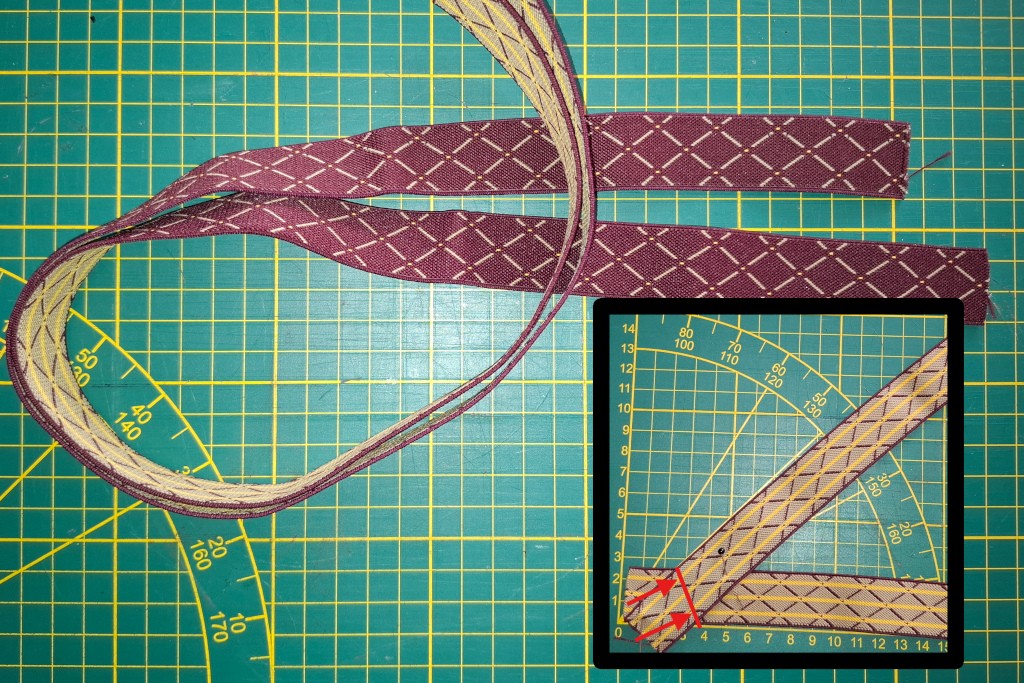
Cut the elastic for the leg strap, leaving it slightly longer and trimming it to size later when trying it on. Fold the elastic bands together at one end at an angle of approx. 45° and pin them in place. I pin them briefly, which makes it a little easier when sewing them to the jockstrap in the next step.
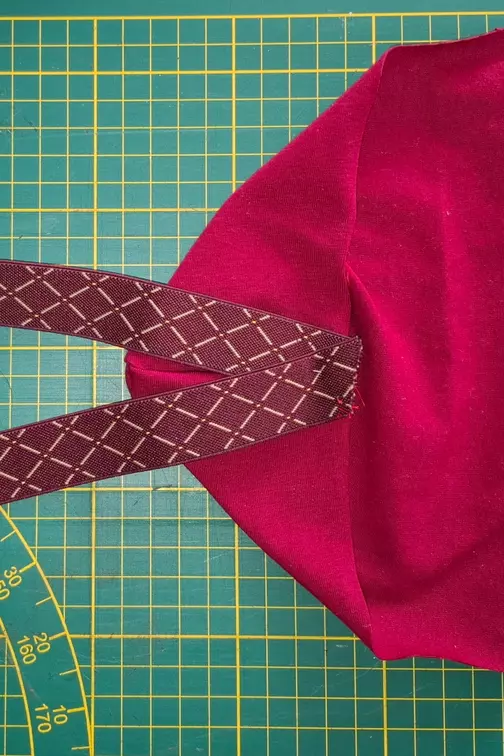
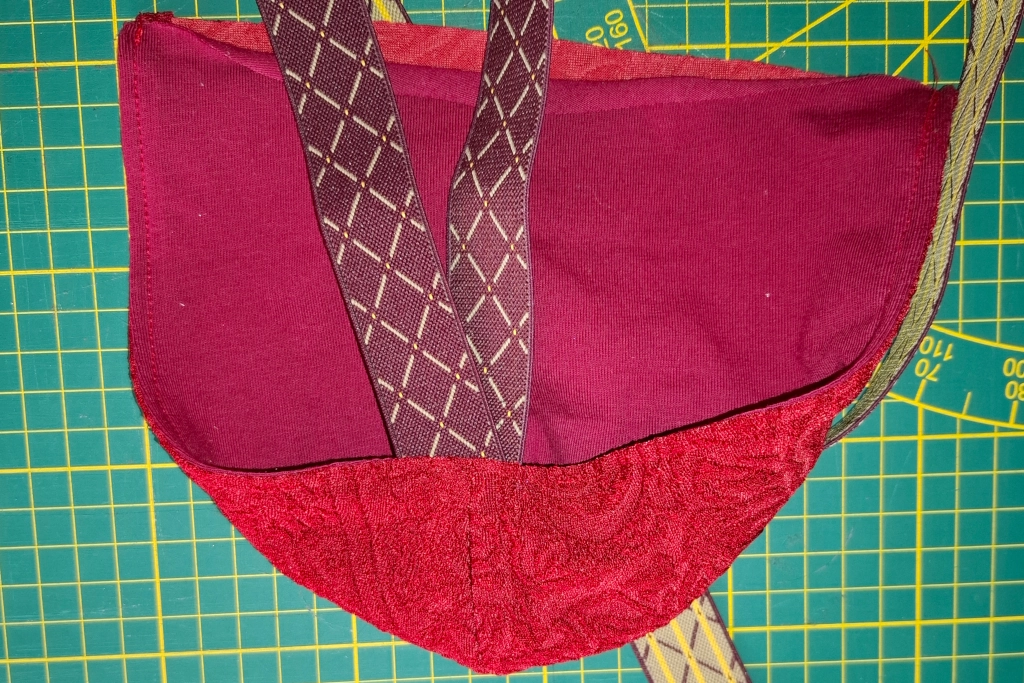
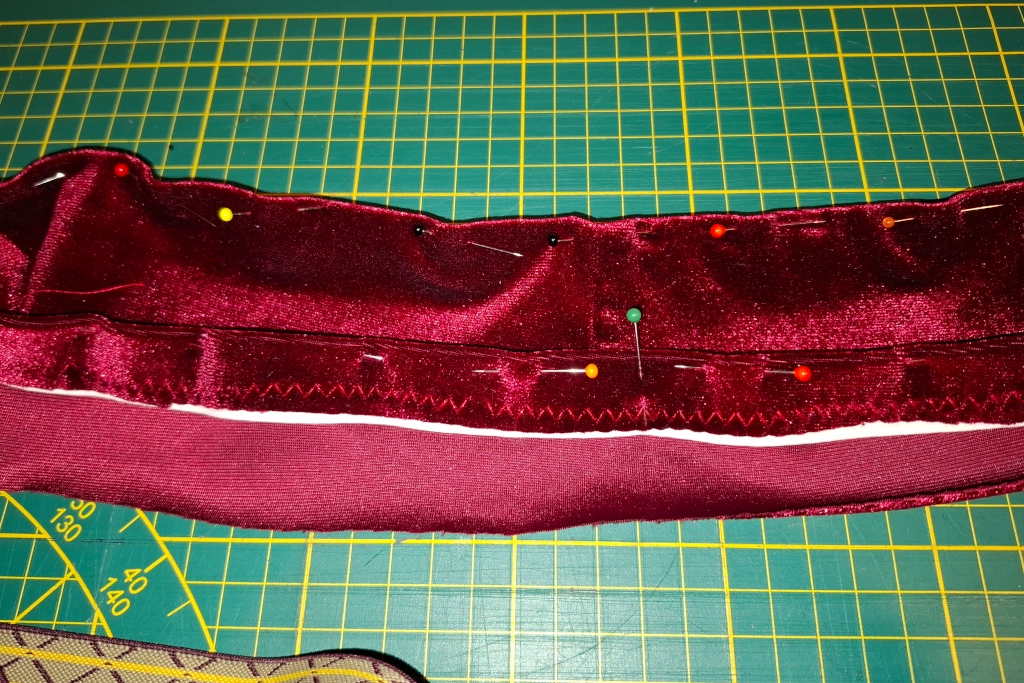
Now attach the two straps to the lining, paying attention to the direction. The elastic bands should be sandwiched between them.

The rubber bands are attached to the bottom of the jockstrap.

Now baste the outer fabric right sides together with the lining. The elastic straps are now between the two pieces of fabric.
Now sew the two pieces of fabric together, making sure that the elastic straps are neatly sewn over.
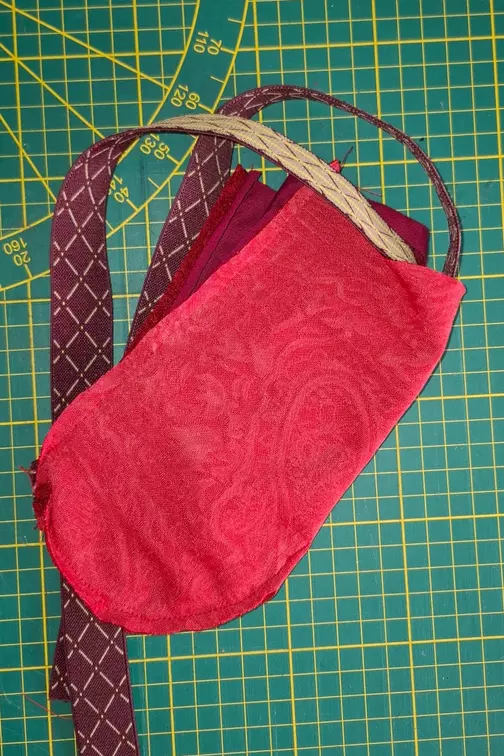
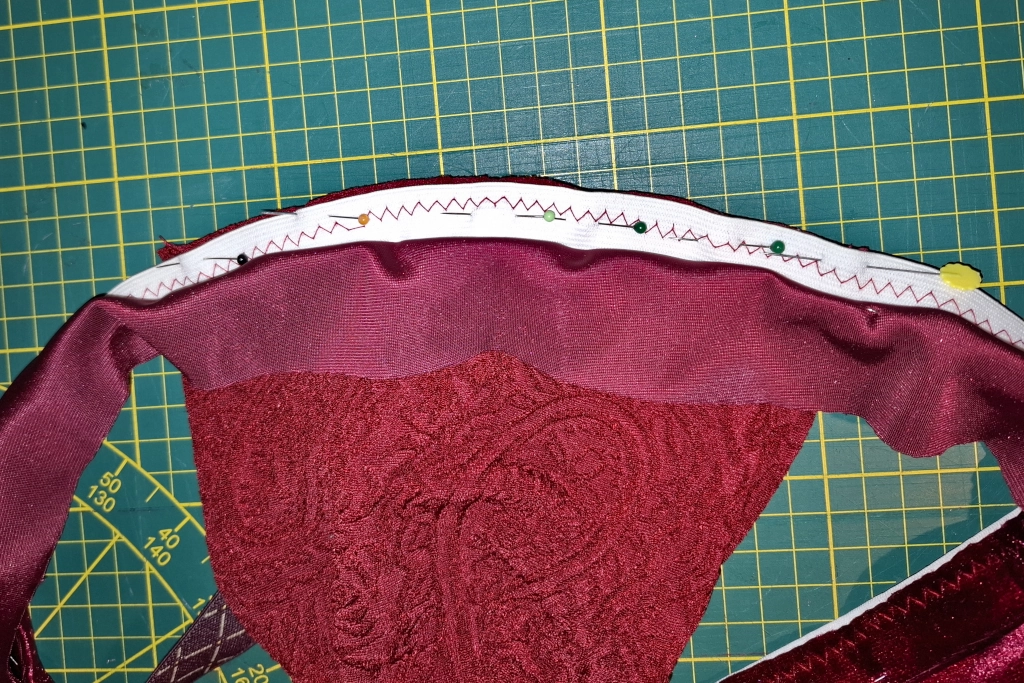
Turn the jockstrap inside out and stitch it down, sewing over the elastic bands a second time.
The rubber seals are cleanly fitted between the parts. Image from the right side.
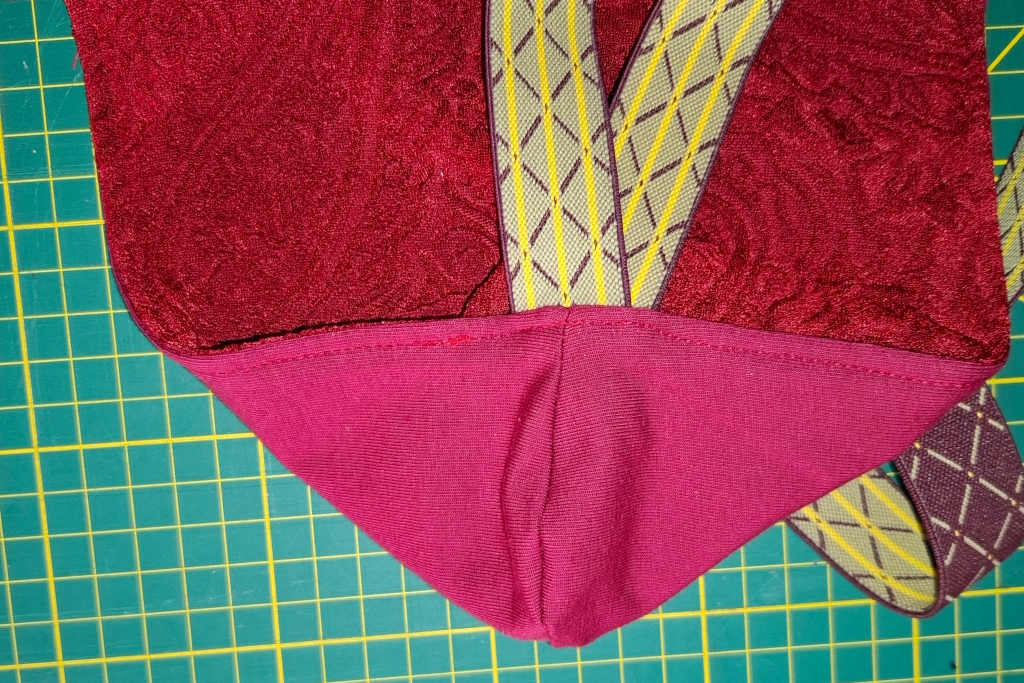
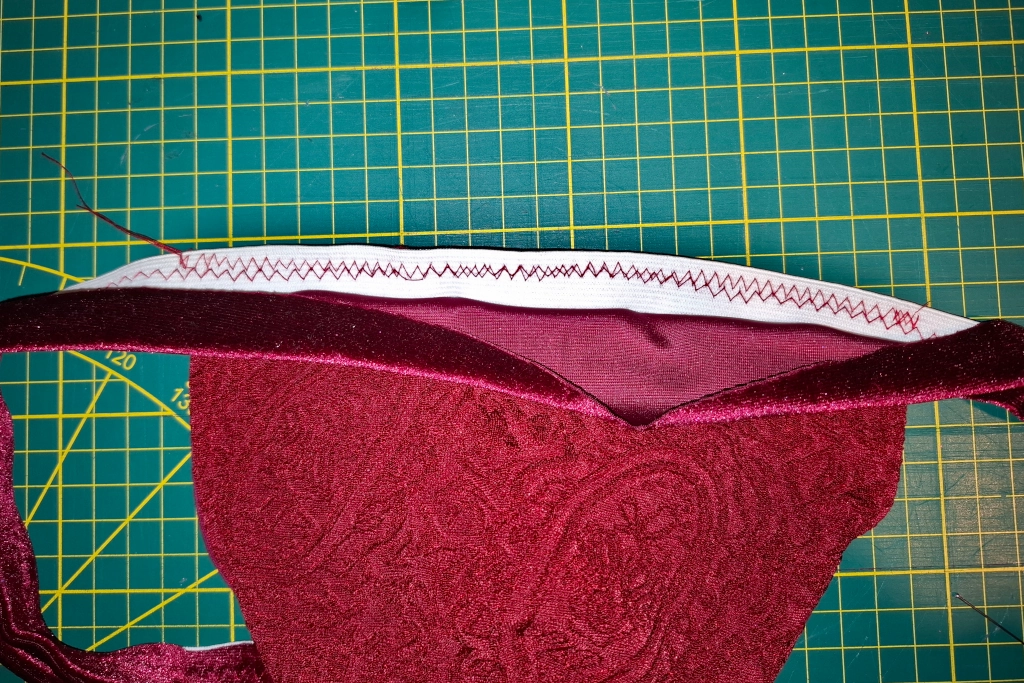
Image from the left Side.
The jockstrap is finished with the leg strips. Of course, there are easier ways to do this, but I don’t want or like open seams. I’ll show you a simple jockstrap when I sew shorts with a jockstrap as an inner brief.
The next step is the waistband, which I will cover in this tutorial. I will use panne velvet for this. It is nice and stretchy, and I can cut it to the same length as the elastic waistband.
Bind the waistband and finish.
I want to bind the elastic band. Should I just use a waistband elastic and sew it on? Personally, I don’t like this at all and it also looks cheap. But that’s a matter of taste.
Position the elastic band correctly and measure it, then cut it to size and close it with a seam.

I use panne velvet to bind the elastic. The velvet is quite flexible, so cut it to the same length as the elastic and close it. The width of the cut piece is 3x the width of the elastic.
Divide the waistband and fabric ring into eight sections using pins.

Pannesamt is finicky, so I secure it again at the top edge.

Simply sew it roughly to the elastic at the top edge using a zigzag or stretch stitch.
Pull the velvet neatly and tightly over the edge of the elastic and pin it in place. This step should be done very carefully, otherwise the cuff will look messy after sewing.
Now attach the jockstrap to the waistband. To do this, fold back the velvet from the front center of the elastic. Pin them together, making sure that the velvet remains taut on the elastic.
Sew cheekily over the top edge with a flexible stitch. The seam will not be visible afterwards.
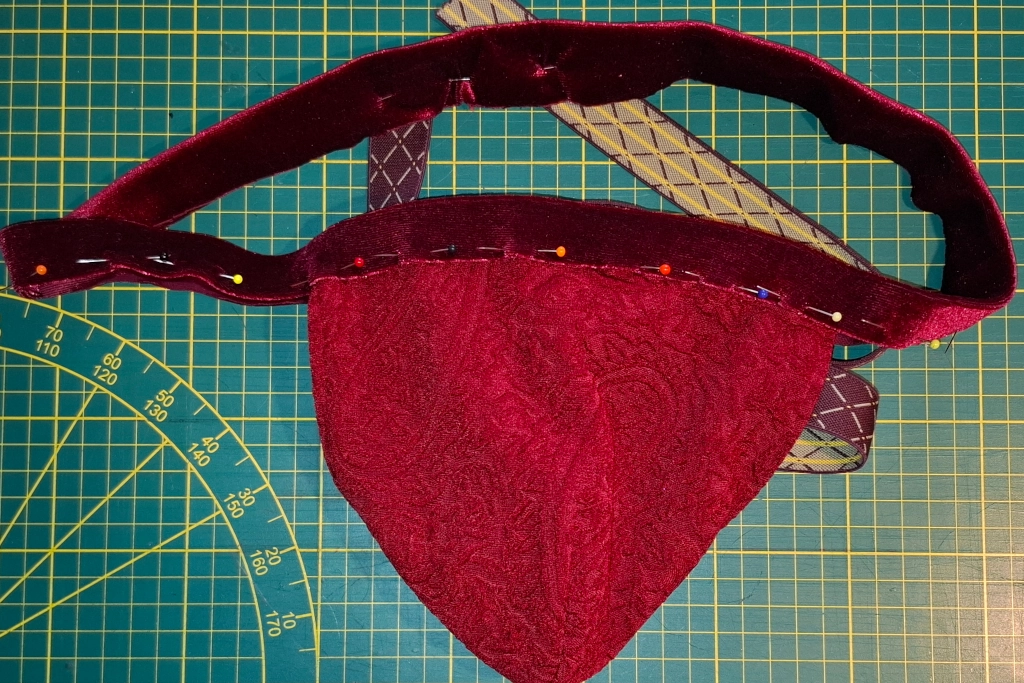
Pull the velvet over the elastic so that it fits tightly but does not roll up. Pin it in place on the right side. Now it’s time to try it on!
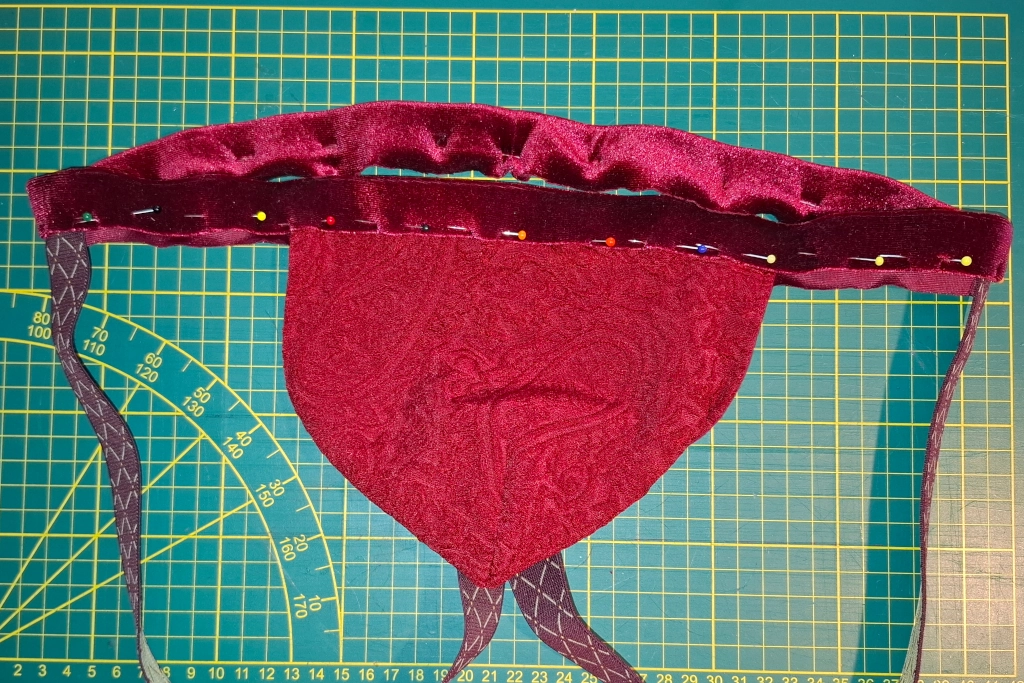
The leg straps are attached to the waistband during the fitting. Then, as with the jockstrap, they are fastened in between. Finally, reattach the velvet.
Close the waistband in the middle with a stretch stitch. And cut off the excess. Pannesamt does not fray. Fortunately, I have a coverlock, but any other stretch stitch should work as well.
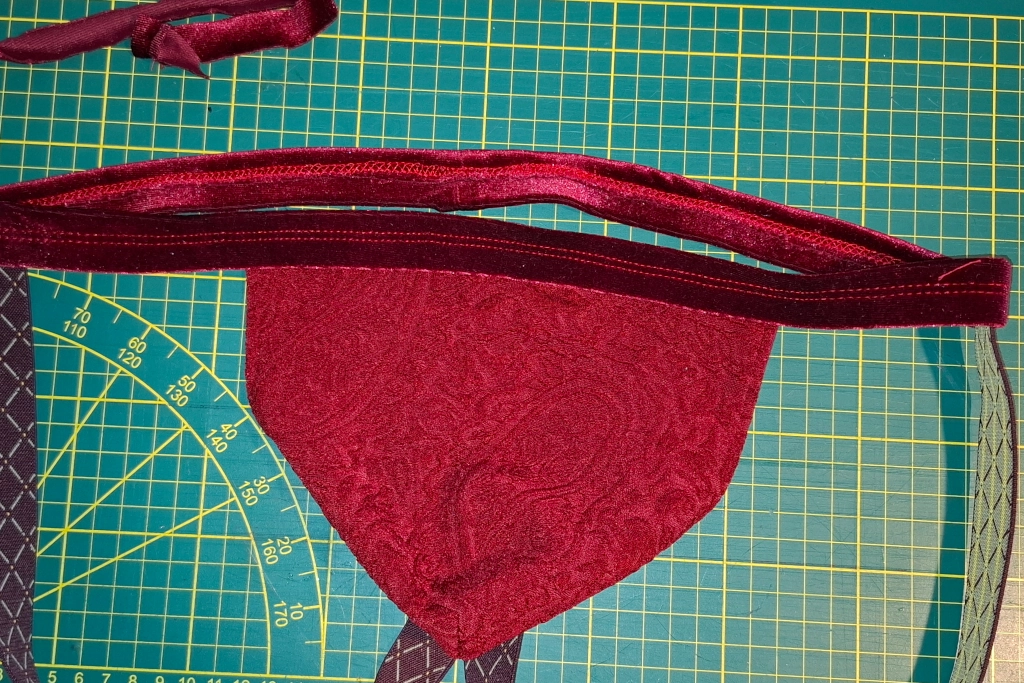
Neatly stitch the jockstrap and the strips at the bottom edge of the waistband using a simple running stitch.
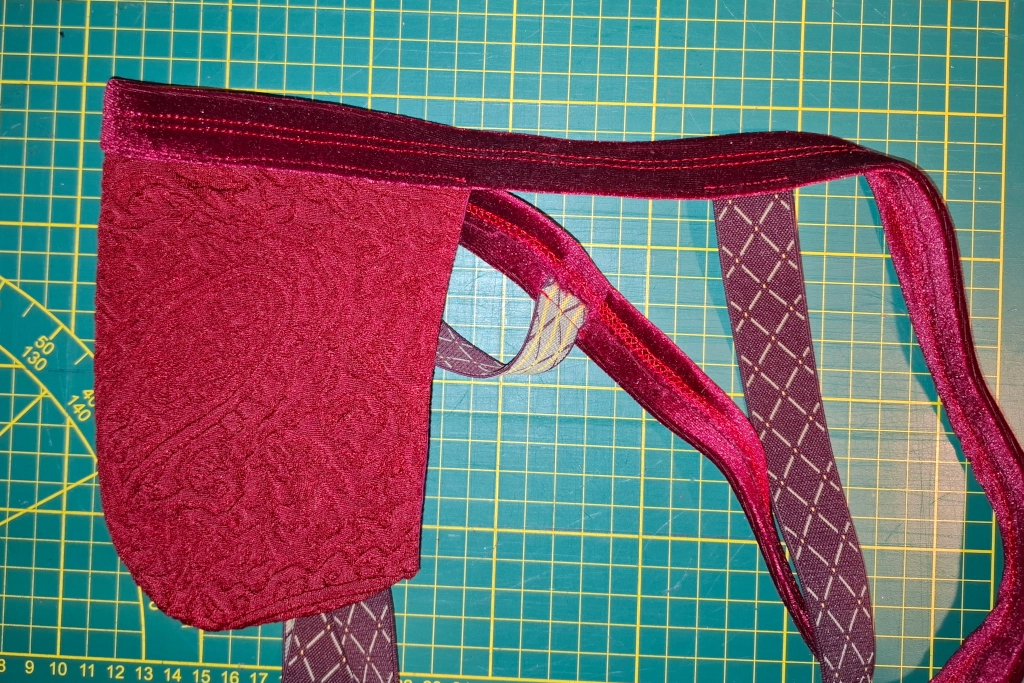
The jockstrap is now complete..
The party can start
With such a unique piece, you’ll be the star among jockstrap wearers, quickly made and tailored to your specifications. You may want to make a few adjustments here and there to ensure a perfect fit for you or your partner, but once you’ve done that, you’ll always have the ideal cut for your underwear.