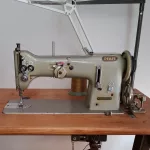
The flexibility of the Pfaff 138 is incredible when it comes to sewing feet; it can accommodate almost all feet for industrial machines. And with a little effort, it can even accommodate quick-change feet, known as snap-on feet.
Standard foot
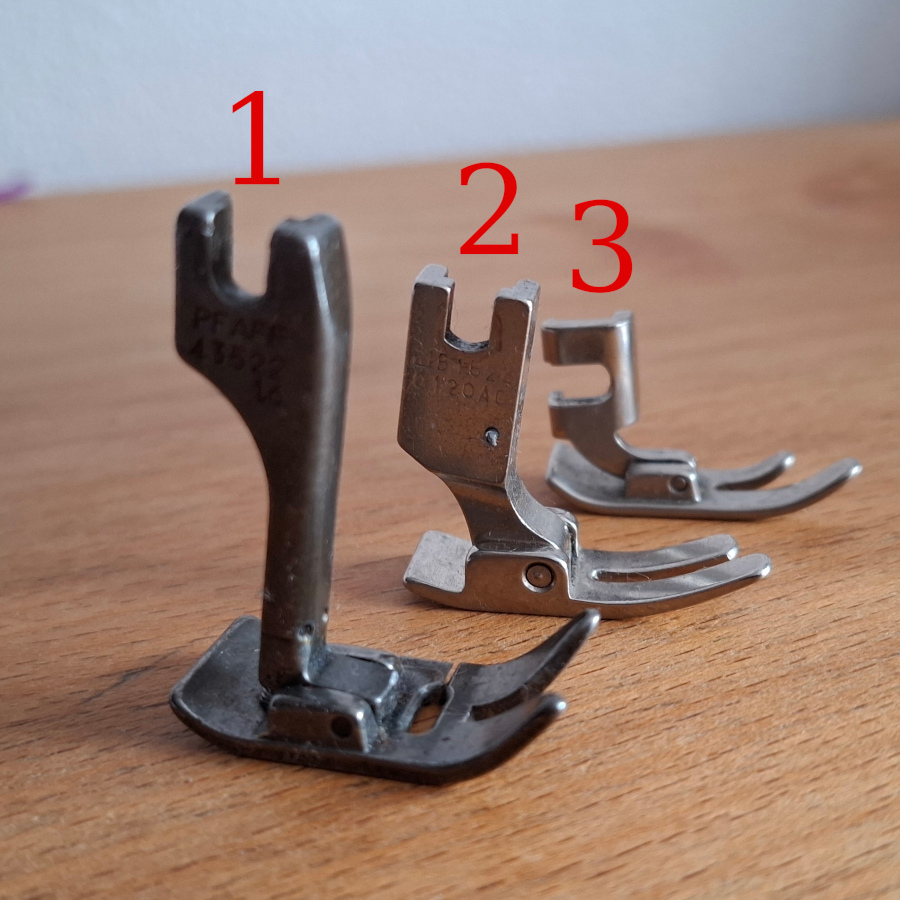
Pfaff has three different standard feet:
1. High shaft (standard for the Pfaff 138)
2. Industrial foot, which is for most industrial machines
3. Standard foot for household machines
The footrest
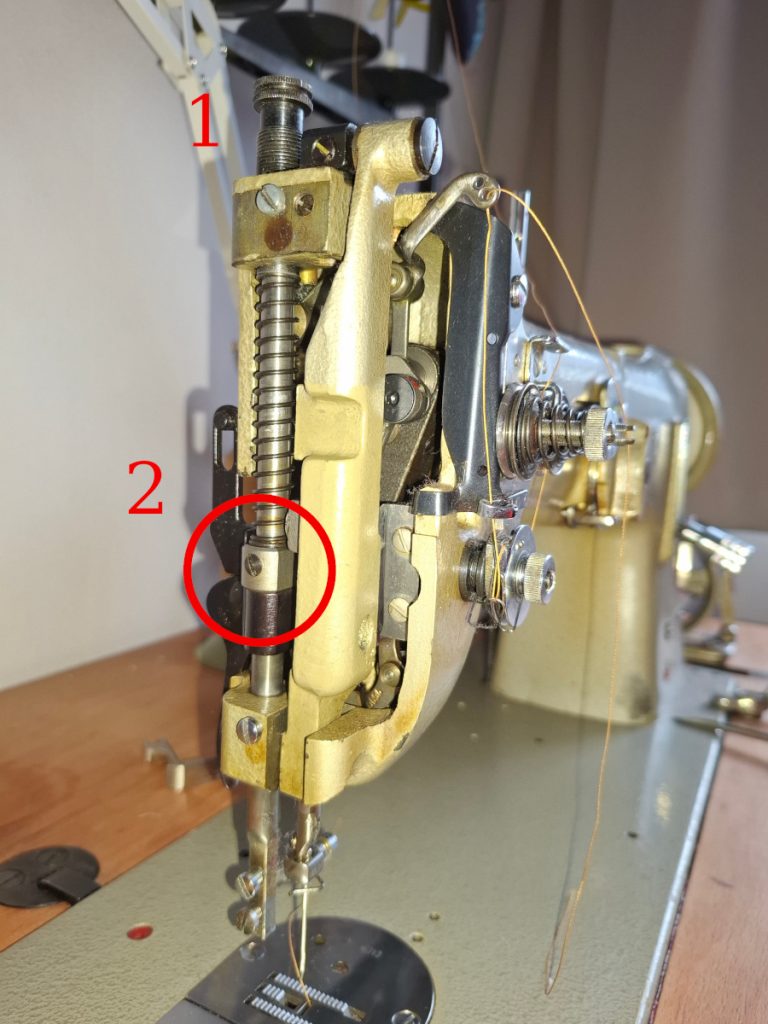
A special feature of the Pfaff 138 is the push rod and the presser foot holder. The Pfaff has two holders: Position 1 is for high shaft feet and position 2 is for industry standard feet.
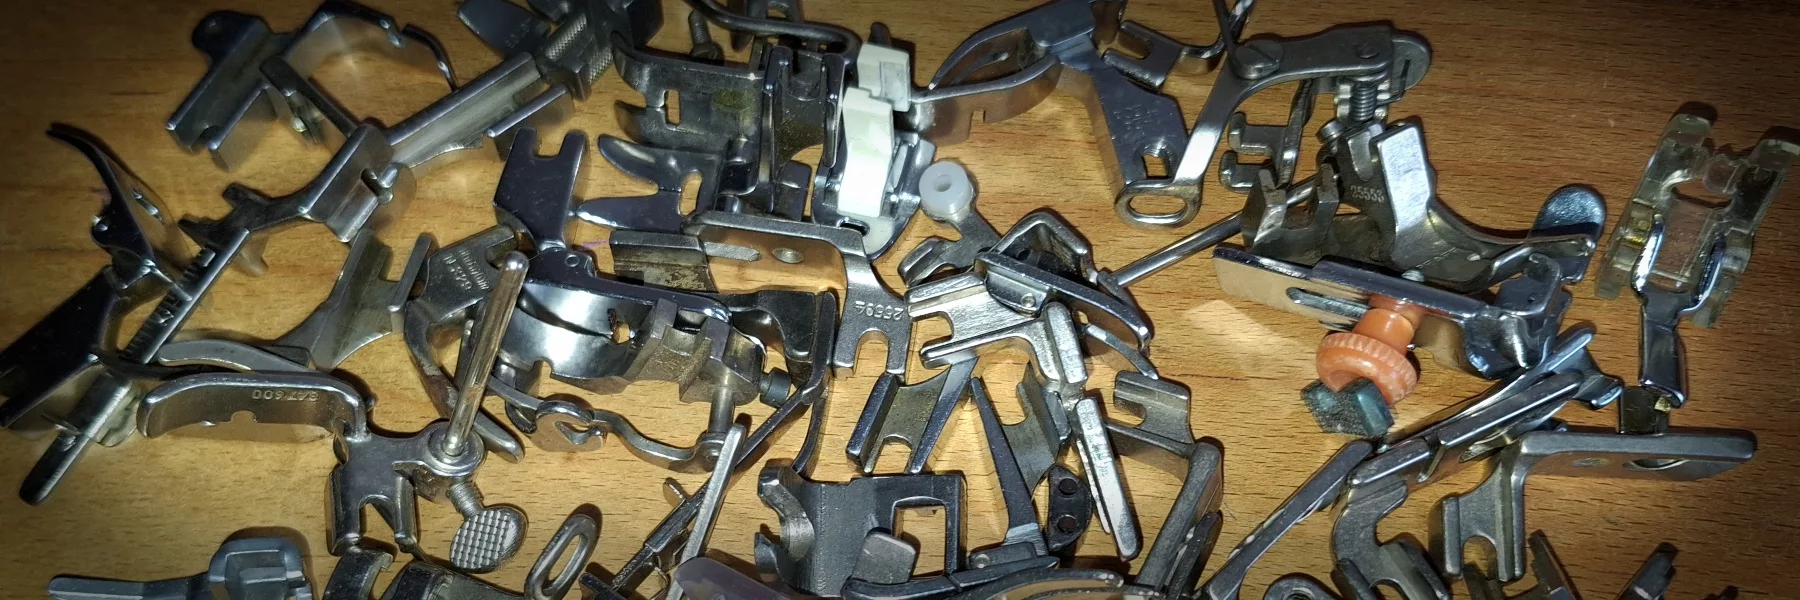
There are hundreds of industrial feet, and the right one for every application. For private individuals or for one-off productions, screwing the feet on and off is very tedious.
A quick-change adapter provides a remedy, and it is also very inexpensive to buy. It can be found online under the name Snap on High Shank and is available for just a few euros.
I would like to show you what you need to bear in mind below.
Fit Pfaff 138 on Snap on High Shank

The Snap on High Shank Adapter, which I bought very cheaply for just €2. And a foot set for just €18. You can get these anywhere for a few euros.

These sets are available in various designs and sizes. There are sets with over 80 different feet, so there should be something for everyone. This large selection as an original set of feet is probably no longer affordable, at least for me.
Setting up the sewing machine
You may not even need to adjust anything special. If the snap-on adapter is screwed on and the stitch plate is almost touching, everything is fine.
If this is not the case, which I assume it will be, then the push rod needs to be readjusted.
Adjusting the push rod is actually not difficult and can be done quickly.
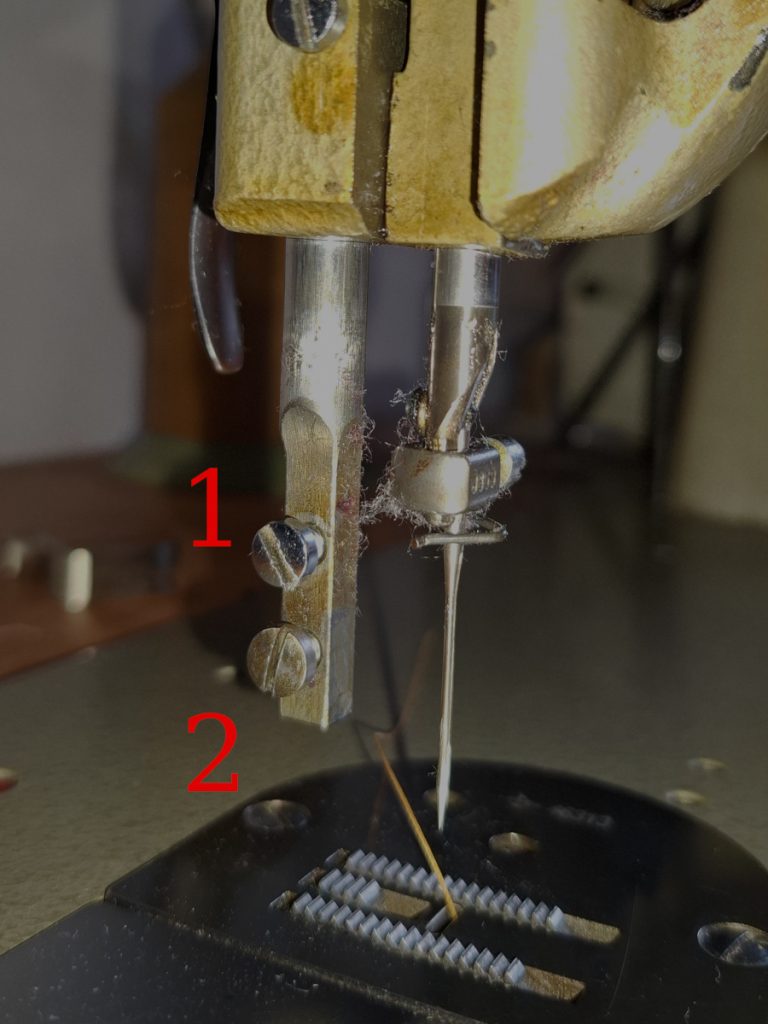
Release the pressure spring, preferably by unscrewing the screw at position 1 completely, to ensure that no pressure is exerted on the push rod.
Loosen the screw at position 2, spraying on a little W40 if necessary. The rod may be a little stuck. A little heat will help; I found a hot air gun to be very useful.
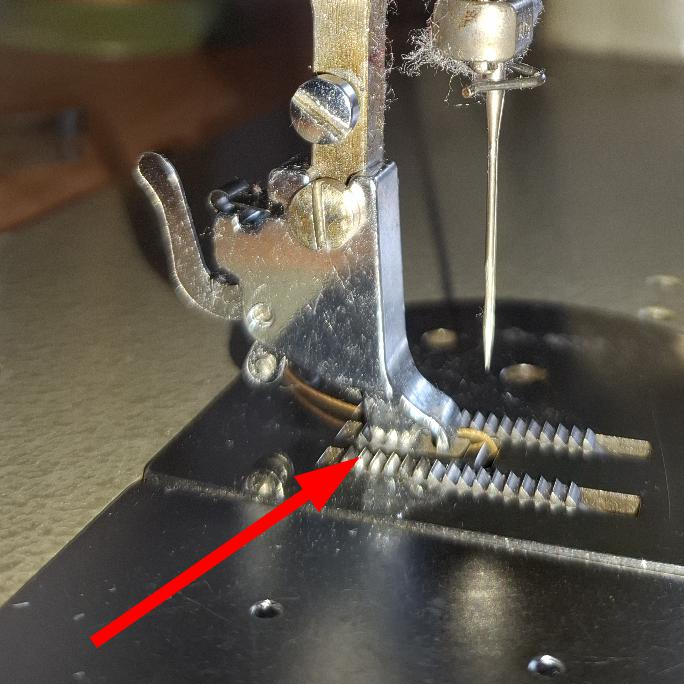
Mount the adapter and, as shown in the picture above, lower the rod until the adapter foot lightly touches the needle plate. The adapter must be parallel to the feed dog. Tighten the screw (position 2) and insert a foot. When the foot is aligned with the feed dog, tighten the screw (position 2) securely.
Done, you’re finished.
Important note
It can happen that the needle is not in the correct position, meaning that it is not centered on the presser foot. In this case, the needle bar should be adjusted. This should be done by a specialist.
For those of you who like to do things yourself, Pfaff’s service manual is freely available and very well written. If you would like more help, I can recommend a forum where I am also a member. Please understand that I am unable to offer support here.