Pleated skirts are among the classic skirt styles. Regular, sewn, or pressed pleats at the waistband are a typical feature.
It suits both women’s and men’s figures, making the pleated skirt a unisex garment. Whether a pleated skirt looks masculine or feminine often depends on the material or pattern. Made of faux leather, patent leather, latex, or genuine leather, such a skirt is sure to turn heads at any party.
Designing and sewing a pleated skirt is not difficult and is suitable even for beginners.
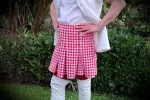
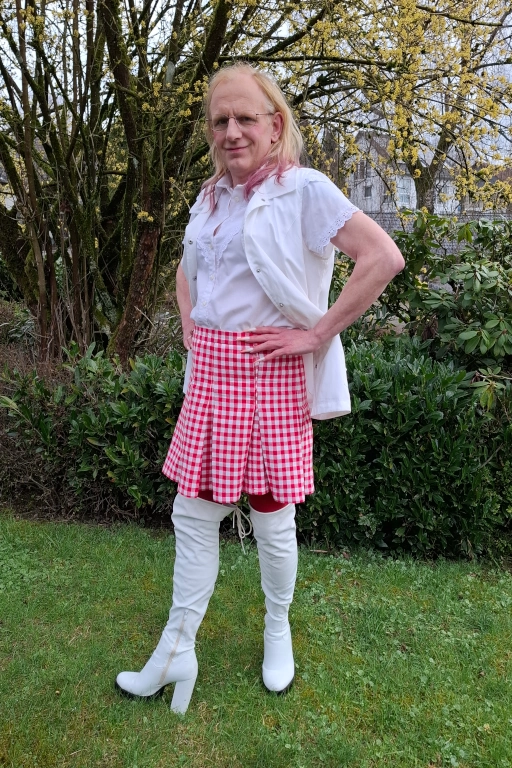
The photo shows my partner wearing the new skirt I sewed myself. And yes, the skirt is unisex.
List of Materials
- A sheet of paper for the sketch
- Ruler, pencil
- Fabric scissors, tailor’s chalk
- Sewing machine
- and the fabric
I got the fabric from some old bed sheets. It’s still genuine woven plaid—not a print. I found the bed sheets at a flea market and got them for a bargain. And upcycling is even more fun.
Take measurements
Before we start building, we need to take a few measurements.
- Waist measurement = W (93 cm)
- Hip measurement = H (98 cm)
- Length = L (40 cm)
- Finished waistband height (3 cm)
- Pleats: How should we style the pleats? Should we use full, half, or extended pleats?
Here I’m showing a pattern for a skirt with a full box pleat. The skirt is for my partner. I’ll use the marked measurements to construct the skirt.
Calculating the actual pleated skirt

I’m planning for full pleats, which means I need to multiply the length of the fabric panel by three.
For example:
If the finished pleat width is to be 80 mm, the fabric runs once to the center (40 mm) and back to the outer edge (40 mm). This is done on both the left and right sides of the pleat, so twice. This results in a total length of 3 x 80 mm = 240 mm
In my case, I’m allowing for 9 cm pleats.
Fabric length = width x 3 + seam allowances (for the zipper, I’m allowing 2.5 cm on each side) / 93 cm x 3 + 2.5 cm x 2 = 284 cm
Height of the fabric panel = L + waistband seam allowance + hem / 40 cm + 1 cm + 5 cm = 46 cm
This results in a rectangle measuring 284 cm x 46 cm
The waistband
The waistband is also a simple rectangle that is folded in half.
Waistband length = Bw + allowance for closure + seam allowance / 93 cm + 8 cm + 1 cm = 102 cm
Waistband height = finished waistband height x 2 + seam allowance x 2 / 3 cm x 2 + 1 cm x 2 = 8 cm
The hip width is taken into account when pinning. Here I need 5 cm; when folding, I will spread the fabric apart by approx. 1 cm per fold, at the height (18 cm) of the fold seam.
This results in a rectangle measuring 102 cm x 8 cm
Number of pleats
The fabric length needed for the pleats is 3 times the width of the fabric; in our case, that would be 279 cm. I want the pleats to be as evenly spaced as possible, so I’m basing this on the size of the pattern.
Our check spacing is approx. 1.1 cm. To stay neatly on the line, I’ll choose 9 cm here, which results in 10 pleats. Of course, there’s no set rule for pleat width, and it can be adjusted to your preference.
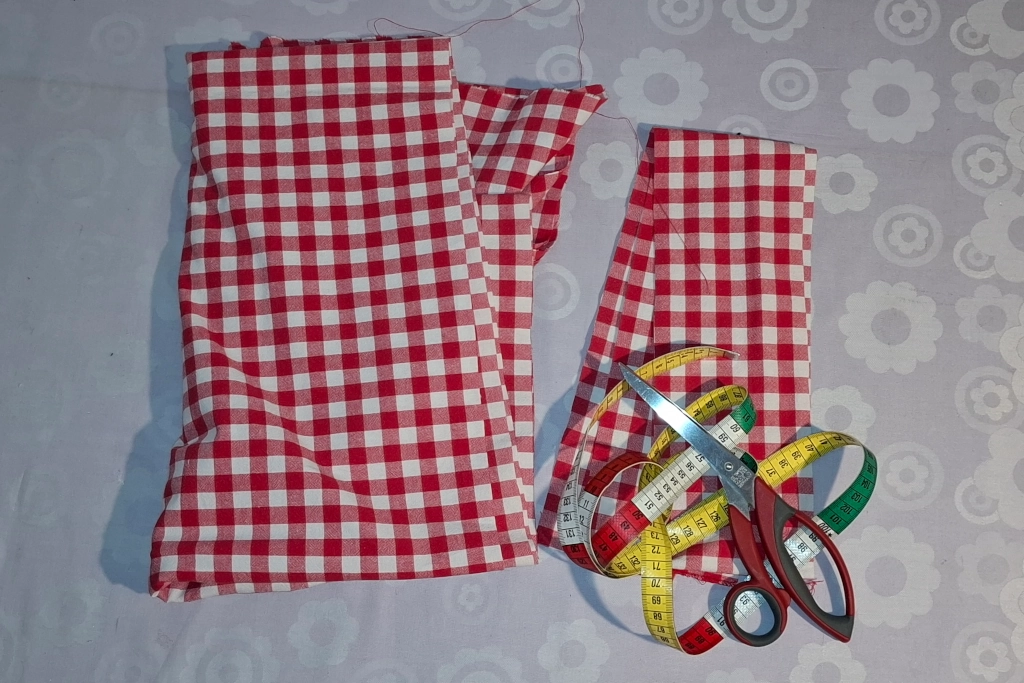
The cut
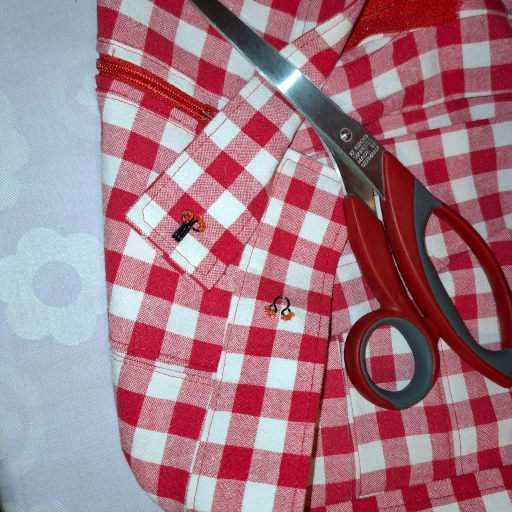
I chose a woven fabric with small squares, and I can use the edges as a guide, which makes it easy to cut the rectangles neatly. After that, I ironed and starched the fabric panels again. This should make it easier to create the pleats.
Create pleats
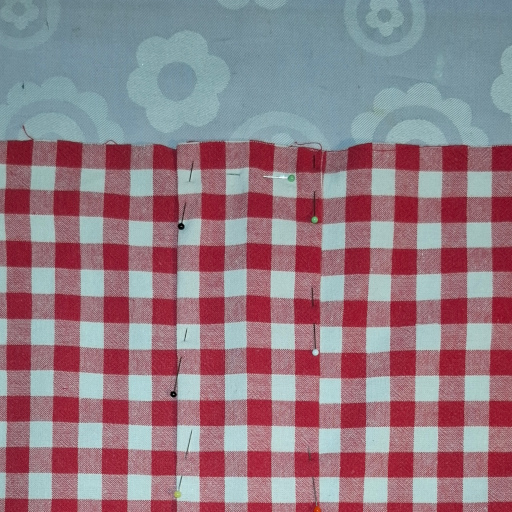
Fold the fabric in half and find the center; I start with the folds from the center and work my way outward.
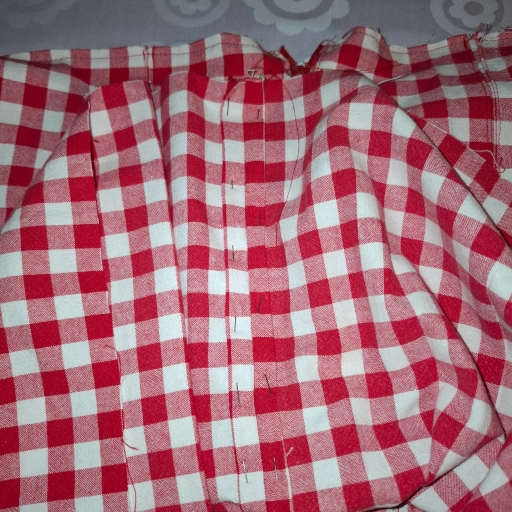
I’m making box pleats, which means the folds are folded in on both the left and right sides. Since the checks are about 1.1 cm wide, I’ll use them as a guide and fold in three checks on each side, then pin them in place.
I sew the pleats to a length of 18 cm; vertically, I spread the pleats apart by about 0.5 cm. This adjusts the width to fit the hip measurement.
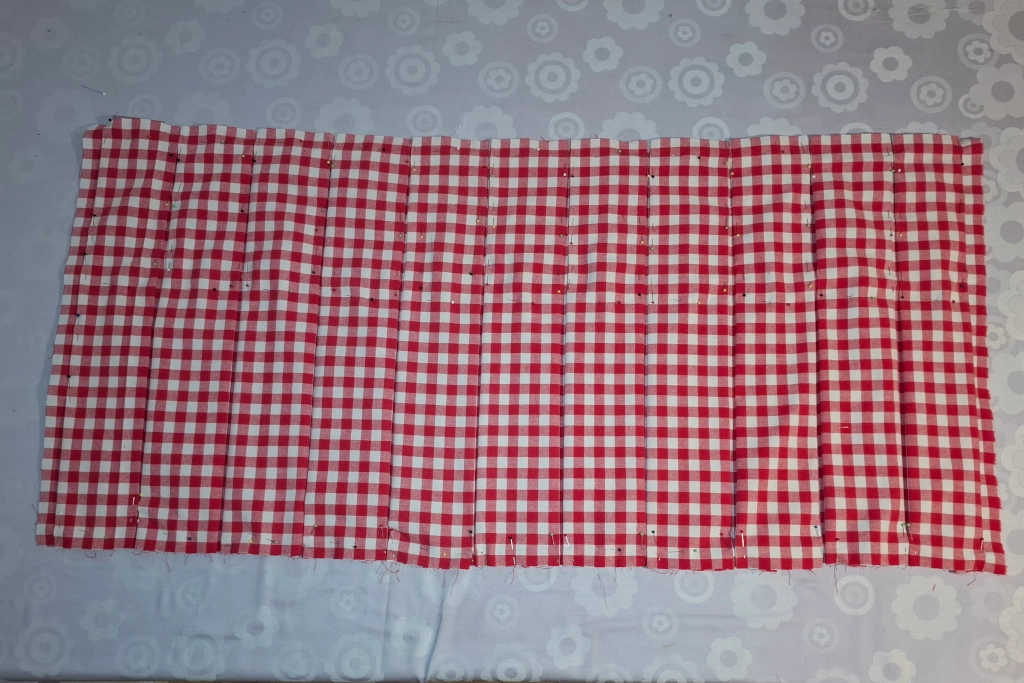
This is what it should look like once all the pleats are set. At the waistband, the pleats lie flush against the edge. At about 18 cm, the pleat edges are about 1 cm apart.
I pinned the hem edge in place so the pleats don’t come undone while I’m at the sewing machine.
Topstitching the pleats

First, I’ll stitch along the top edge (collar) once. Now stitch the pleats close to the edge, stopping at about 18 cm.
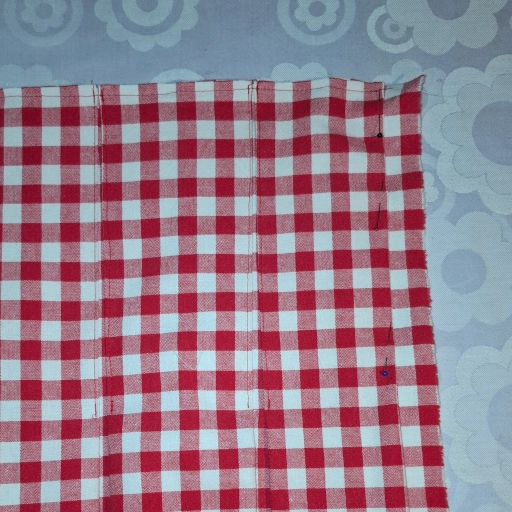
The two outer pleats are not stitched down; this is done after sewing in the zipper and closing the skirt.
The zipper
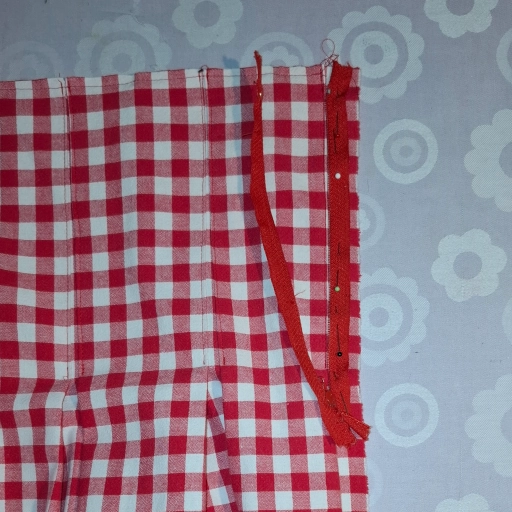
Pin the zipper right sides together.
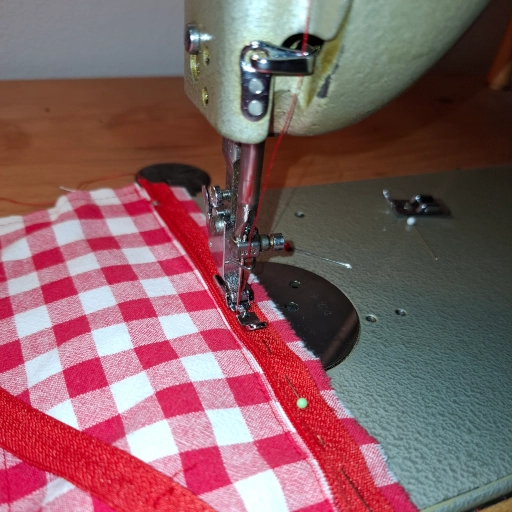
Sew neatly using a zipper foot.
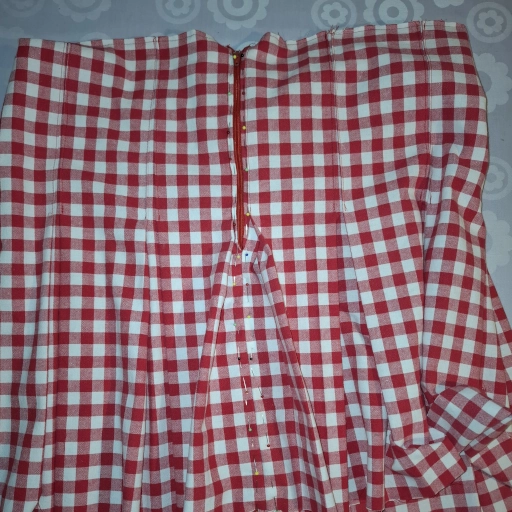
Do the same on the other side. The zipper should now be sewn in.
The zipper has not yet been topstitched on the right side; this step is done only after the skirt is closed. This also secures the last two pleat edges.
Close the skirt
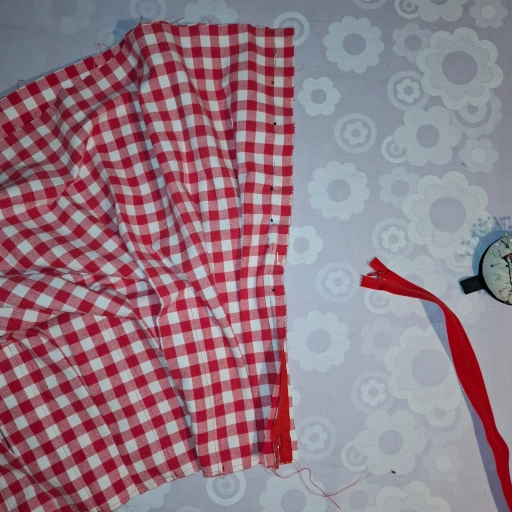
Close the zipper, place the sides right sides together, and pin them in place.
Now fold in the edges and secure them with pins on the right side.
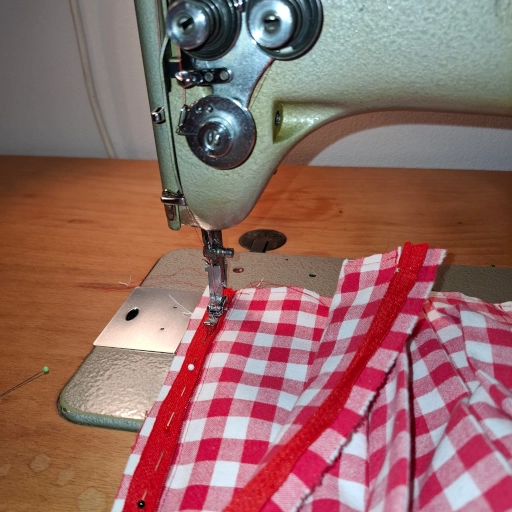
Fold in the right and left edges and stitch them neatly once.
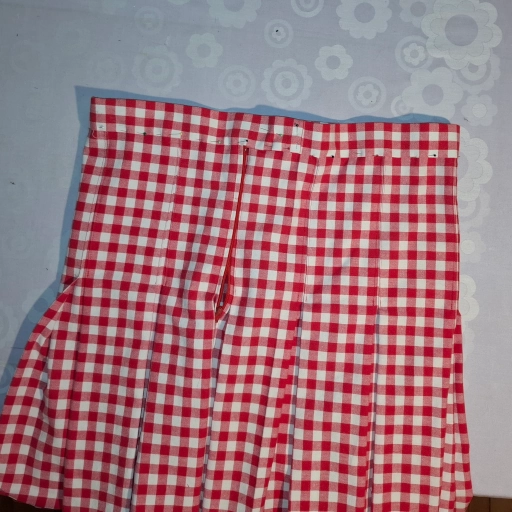
The skirt is sewn together; the zipper is tucked between the two pleats. We’re almost done—just the waistband left.
The waistband
How you line and reinforce the waistband—and what else you might do—is entirely up to you. I reinforced it with a waistband tape and just pinned it in place; I’ll sew it down in one go.
The waistband is neatly sewn in place.
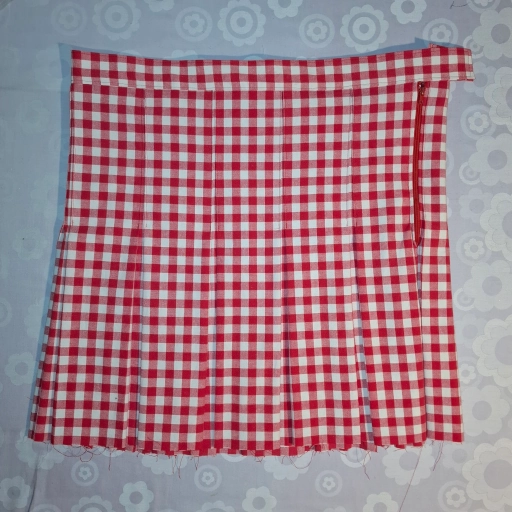
Fully stitched once.
Sew on one more pleat and the skirt is done.
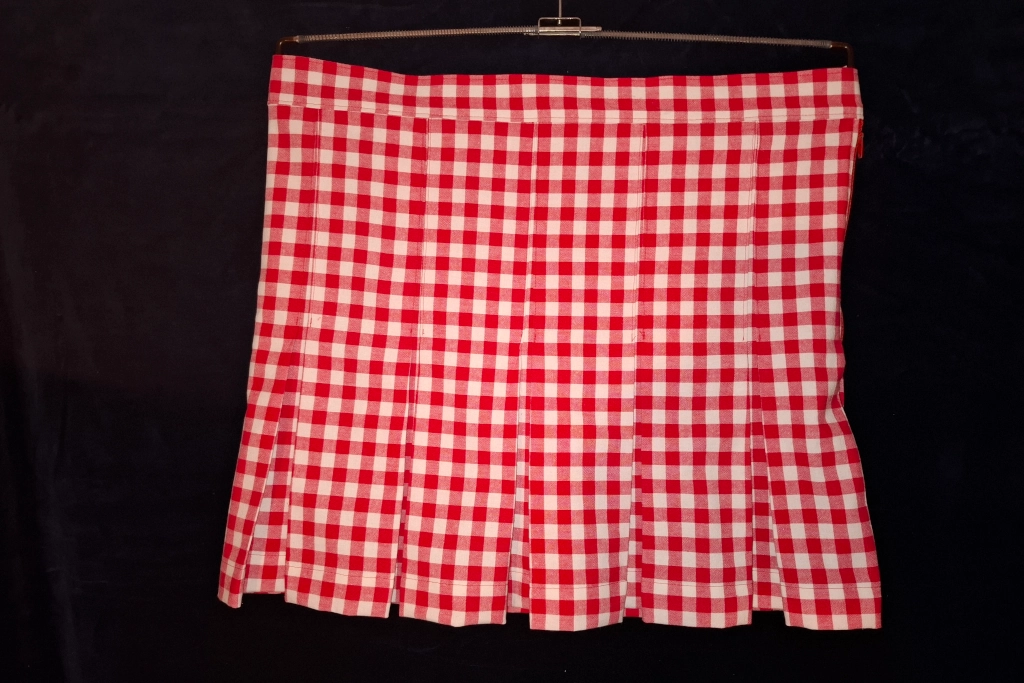
My sweetheart was thrilled, and I got a tasty treat as a reward.
Have fun sewing your own!