A tailor’s board (or ironing anvil/ironing block) is an indispensable tool in tailoring and sewing. It helps to press seams precisely, especially in curved or hard-to-reach areas such as sleeve heads, collars, or darts. Thanks to its special shape and sturdy material (usually wood), it allows for even and professional ironing without the fabric warping or creasing. If you’d like to learn more about the tailor board, you can read more here.
There are several DIY guides online, but I didn’t find any particularly inspiring, so I designed a board myself and am providing you with the drawings and instructions to build your own.
Have fun!
List of Materials
- Drawing
- Wood (preferably beech, though laminated beech is also fine)
- Saw, file, and sandpaper (ideally, a jigsaw and a belt sander)
- Screws and wood glue
To create a template
- Drawing on paper
- Cardstock, thick cardboard
- Craft glue, scissors
Drawings / Template
I have created several drawings using the “Right-click > Save As” option. The drawings are all saved as .pdf files and are available for anyone to download for personal use.
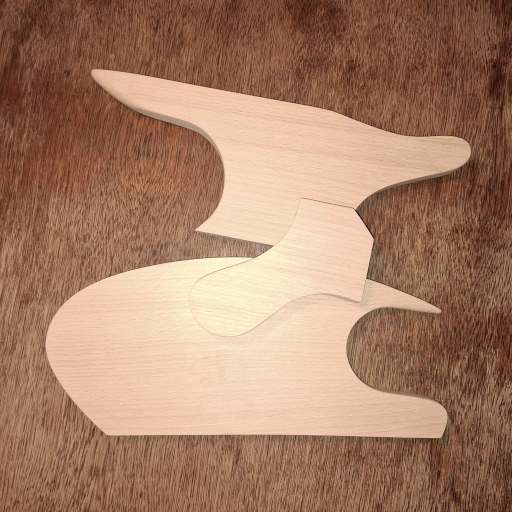
Complete drawing with all individual parts in DIN A2 format
Part 1 (U-shaped anvil), in DIN A3 format
Part 2 (for small curves), in DIN 4 format
Part 3 (for collars, etc.), in DIN A3 format
The design and drawings are intended for a wall thickness of 22 mm. I think anyone should be able to adapt the drawing to their preferred wall thickness. If not, please let me know by leaving a comment, and I’ll update the drawing to reflect the appropriate wall thickness and make it available for download.
Create a template
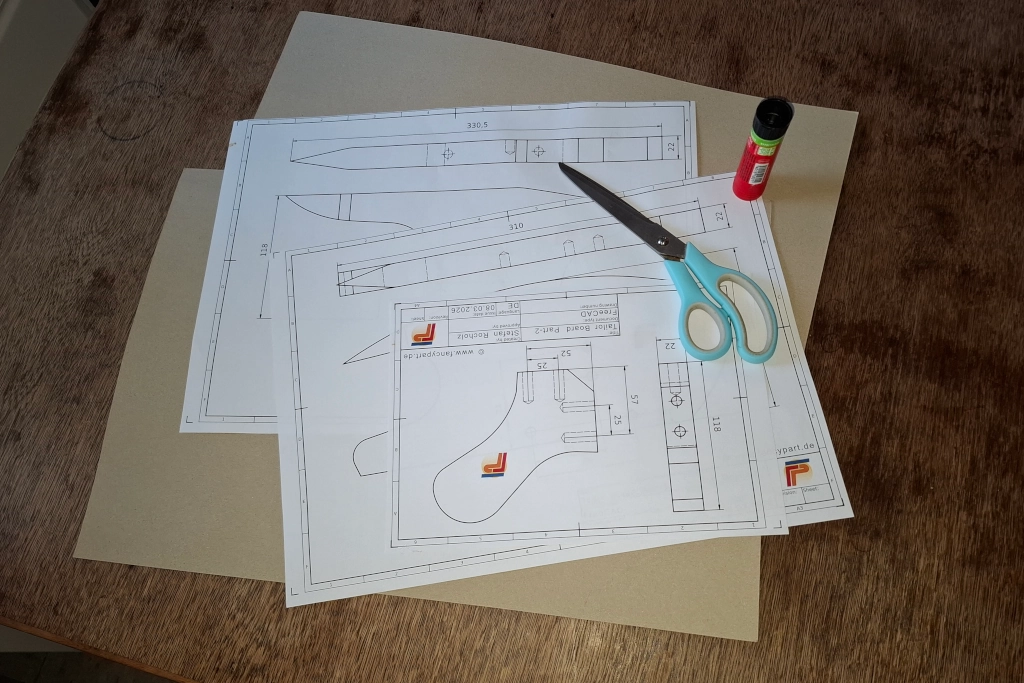
Print out the drawings and glue them onto sturdy cardboard.
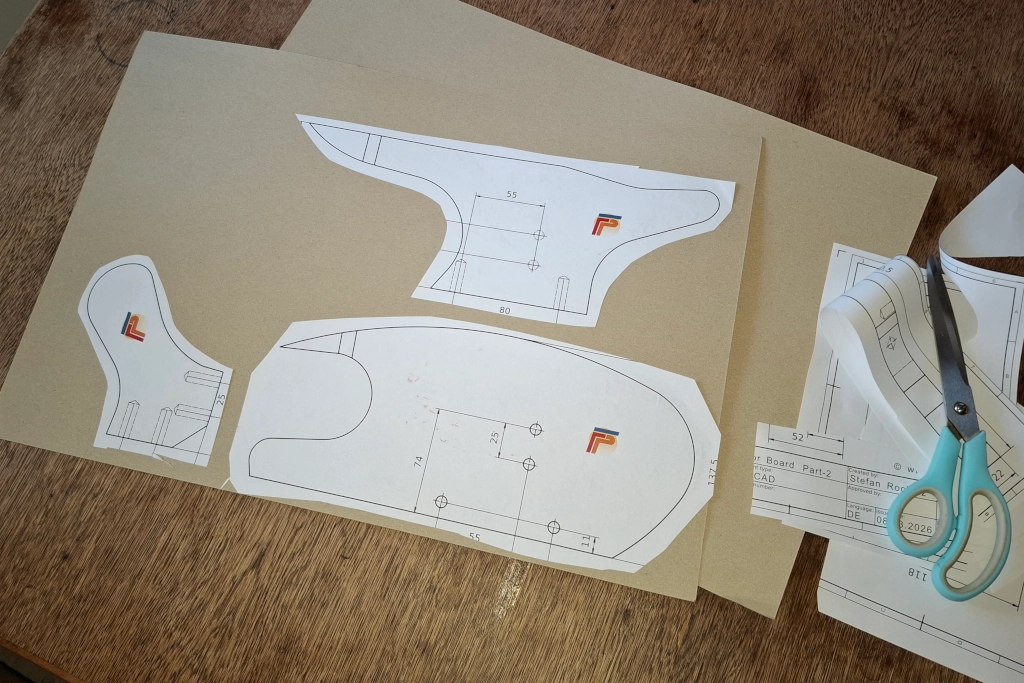
If you need a template for the tips, be sure to include that as well.
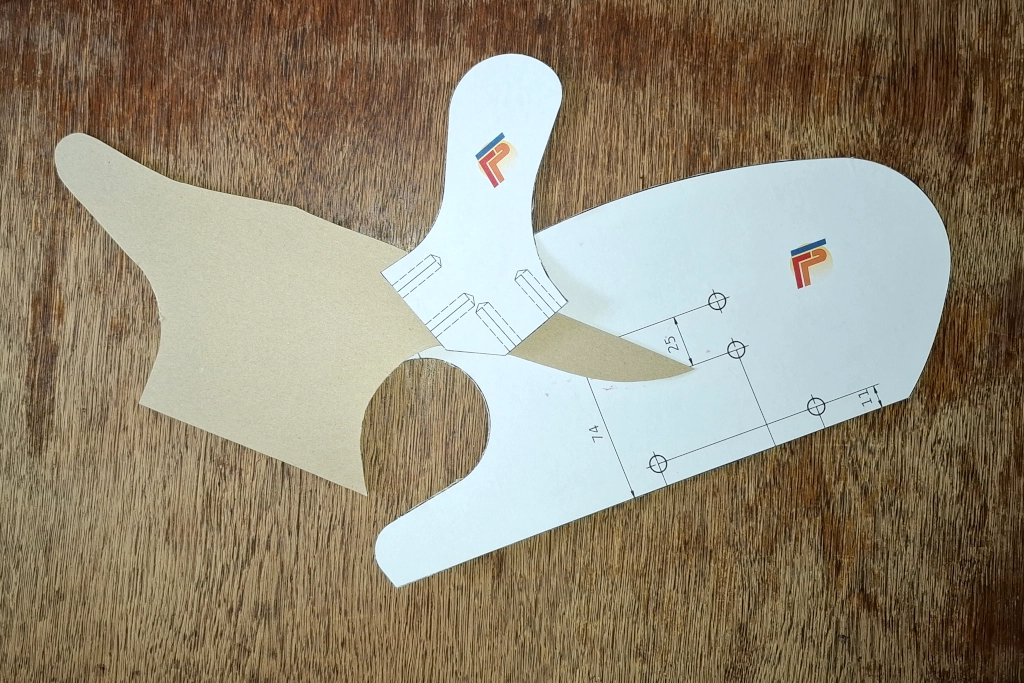
Then cut out the pieces neatly and precisely.
Cutting and sanding wood
I just roughly cut out the pieces with a jigsaw, but you could easily use a band saw or a scroll saw to cut them, which would allow for much more precise work. Since we have a combination disc and belt sander, we can handle the finer details very well in a relatively short amount of time.
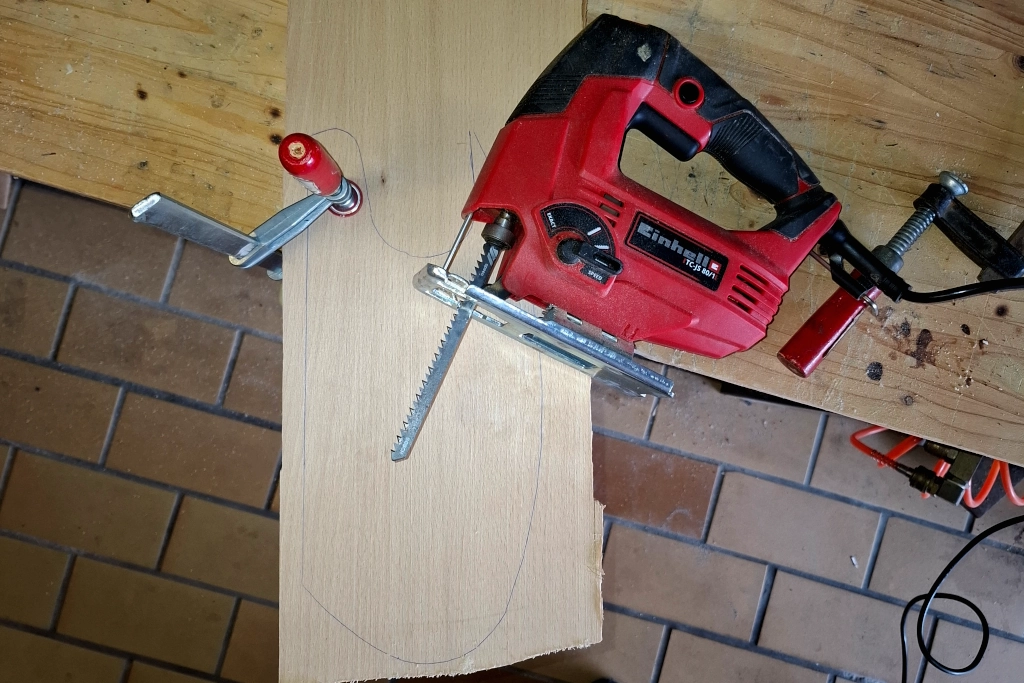
Cutting wood—this is where a jigsaw comes in handy.
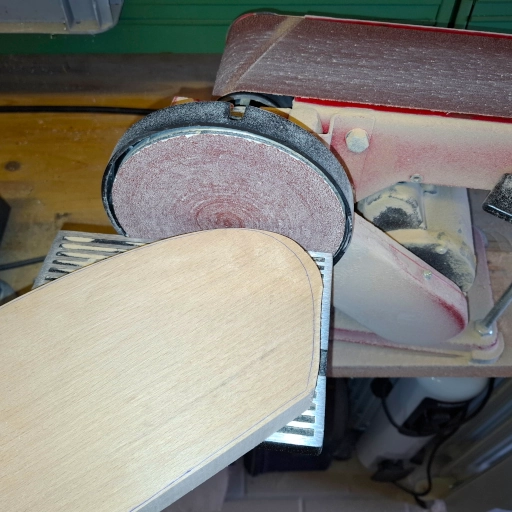
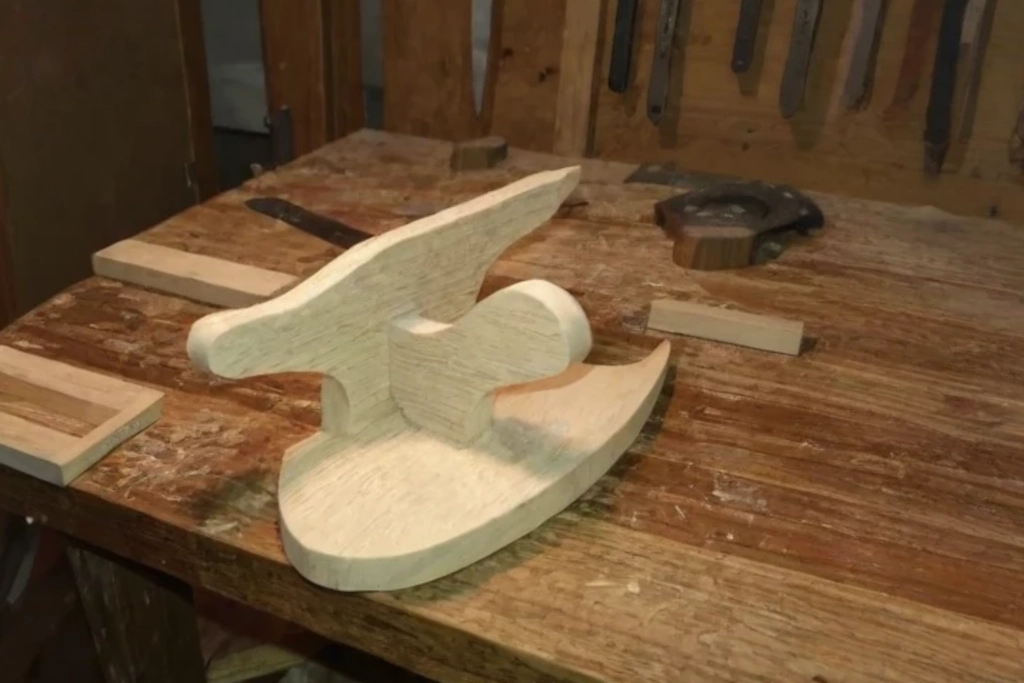
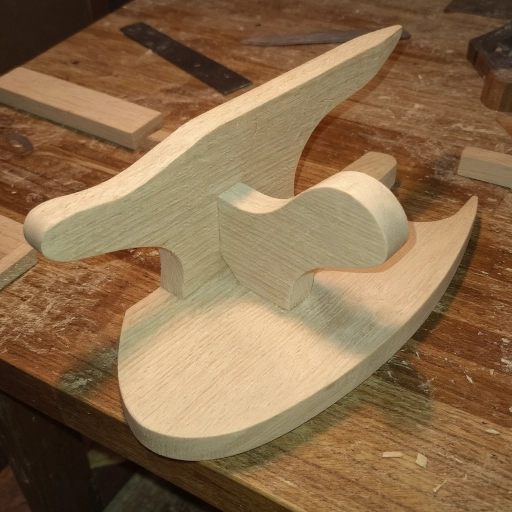
After sanding the mold, the three pieces are now in front of us. Now it’s time to work on the two corners: use the templates to mark the taper. Make sure it’s symmetrical; you can rough out the taper with a wood rasp, then finish the corners first with coarse and then with fine sandpaper. There must be no rough spots that prevent the fabric from gliding smoothly over the surface. Rough spots can cause damage, especially with delicate fabrics.
Finally, break all the edges once and smooth them out nicely. Once the board is assembled, this becomes more difficult.
Assembly

If you want to do it properly, you should glue the parts together. To do this, transfer the positions from the template to the parts. Apply glue to the parts, secure them with clamps, and let them set.
I used superglue and pressed the parts firmly together while gluing them. I’m just lazy.
Once the board has been glued and the adhesive has cured, screw the pieces together. You could also use wooden dowels, in which case the entire board would be made entirely of wood.
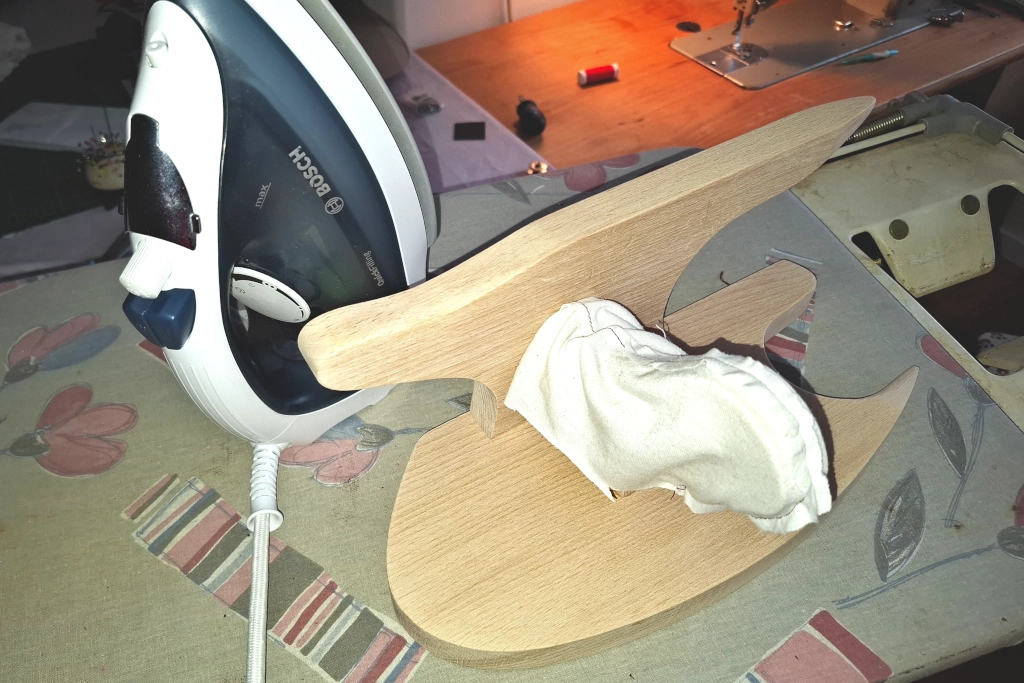
The Tailor Board is finished
Now nothing stands in the way of achieving precise and professional ironing results.
The board is solidly built and will last a lifetime.
I’d love to hear from you about how the construction of your board went and how you plan to use it in the future.
This is a classic Tailor board, built according to the old design, which is multifunctional. But it doesn’t have to stop there. Now you can also build your own special board for specific uses—will any of you do that? I think I’ll definitely be building a board or two of my own.